Posted in Computer Hardware
on 11 Aug 2024 at 15:52 UTC
Last modified: 09 Jan 2026 at 14:07 UTC
Introduction
Do you ever have those ideas that are really time consuming for not much reward? I get those a lot, and this one lodged in my head.
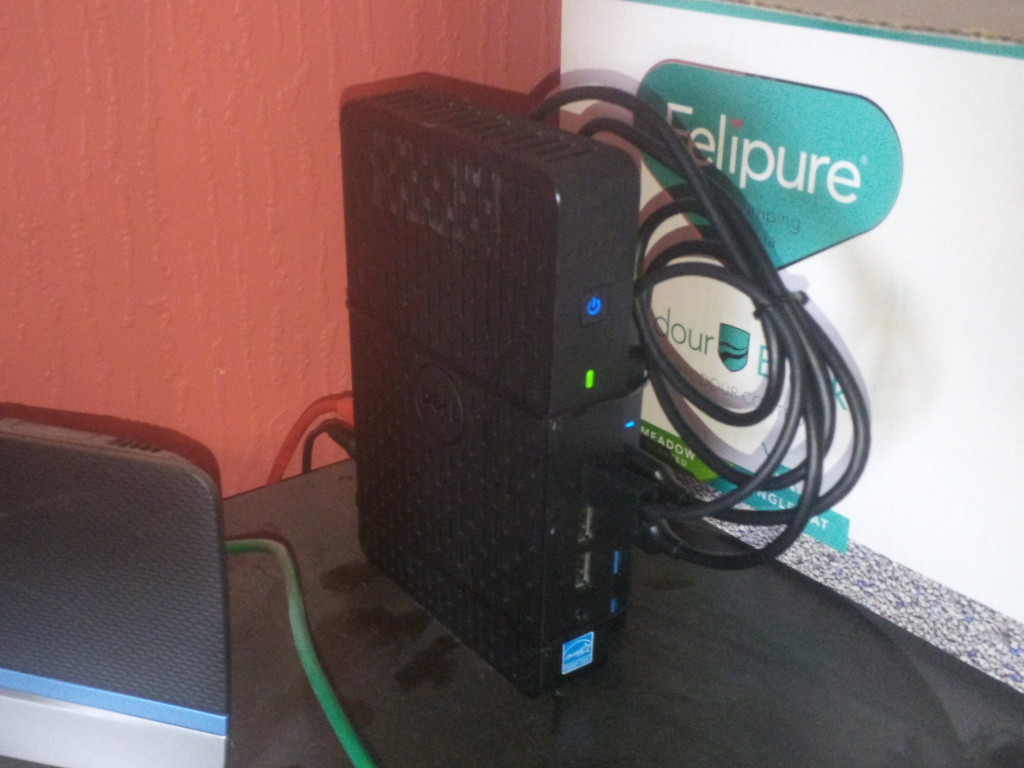
I've been running a Dell Wyse N06D thin client with a pair of 2.5" SSDs in USB enclosures cable-tied to it as my mail server for a while now, it works... but its a bit... rough.

"The motherboard in this is pretty small... I could put it into a 1U enclosure along with a power supply and drives and have plenty of room left over."
"In fact... I could build a dual-node one!"
"I don't need a second node and don't know what I'd do with it, but..."

And so that's how this project began.
Planning and Prototyping
I started out by getting another thin client and tearing it down to see what I'd need for connecting it up in its new enclosure.
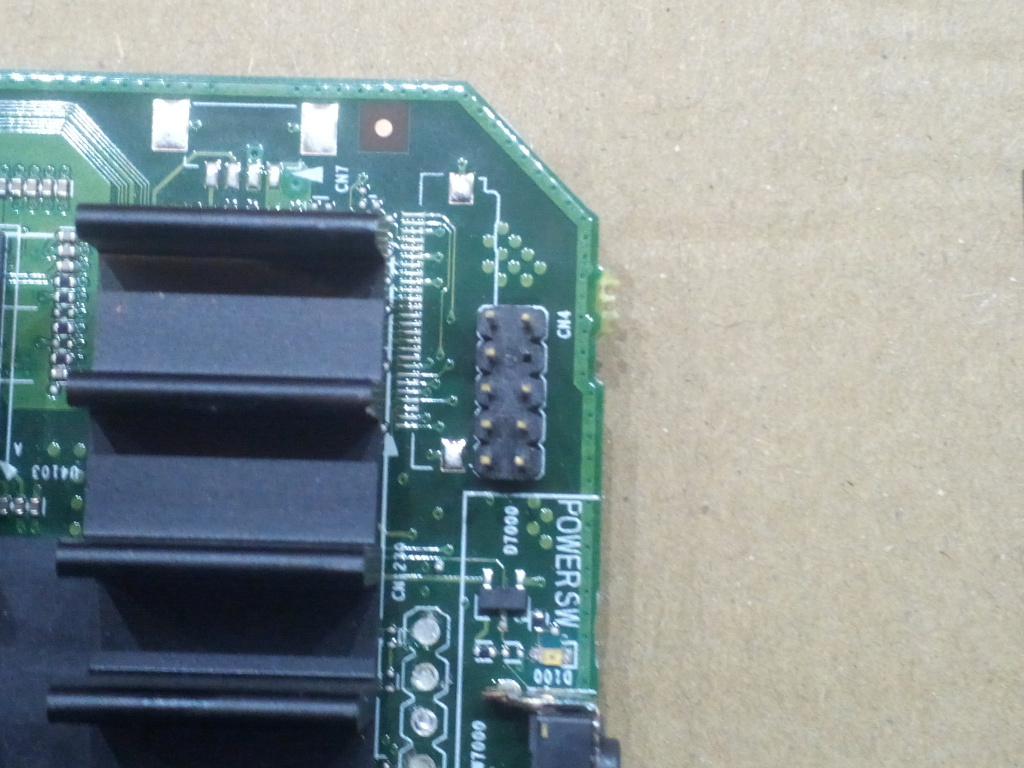
I thought I'd wind up having to solder tiny wires to the surface mount pads for the power switch and status LEDs, but I found a connector footprint suspiciously close to them and a bit of probing around with a multimeter confirmed it essentially be a front panel connector!
I'm not sure if this was included on the PCB for possible other uses of the motherboard by Dell or if its just a manufacturing test point, but I'll take it!
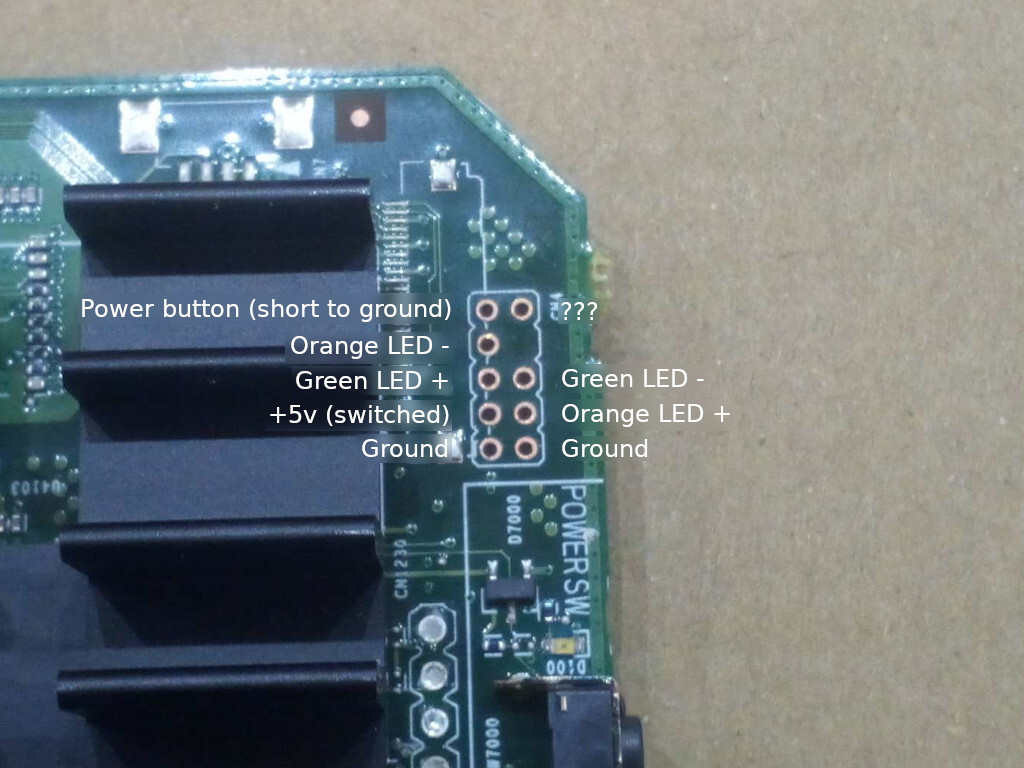
Naturally, being Dell, the connector footprint is a weird pitch and layout, but I eventually found suitable connectors for sale on Amazon to solder on and designed my first ever PCB:
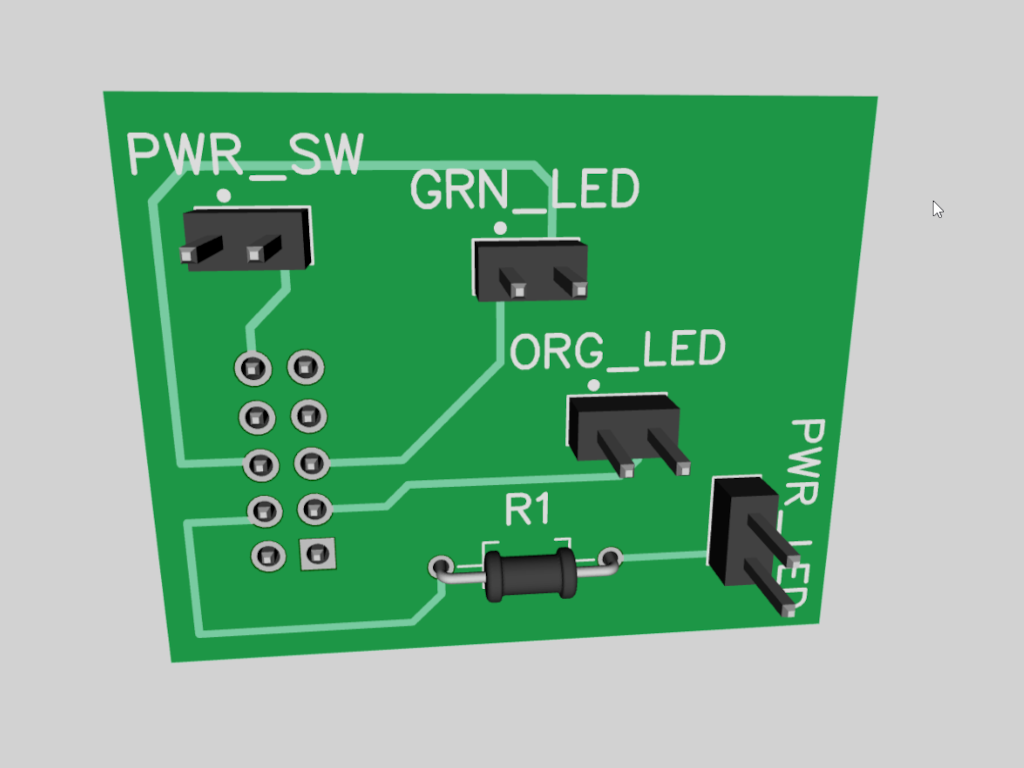
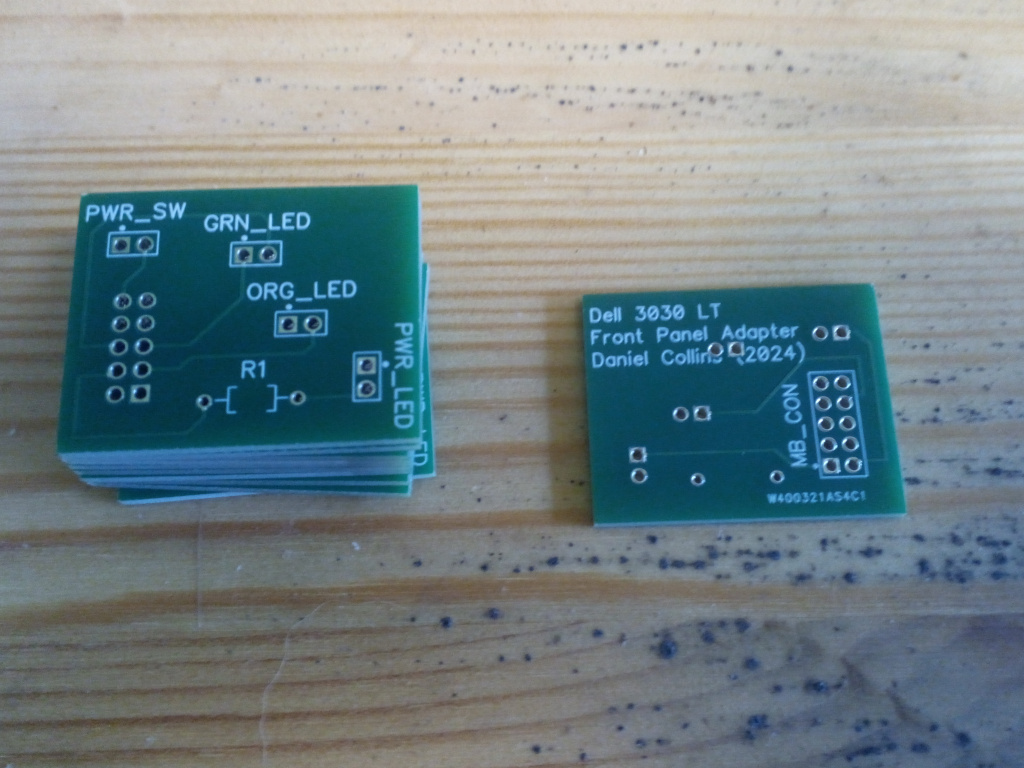
I used the wrong footprint for the 2 pin connectors (2.0mm vs. 2.54mm), but the pins are easily bent slightly to fit. I wish I'd made it a little more compact too, but it fits where I need it to (barely).
Aside from R1, which is a resistor for the power LED (I used 220ohms and that seems fine), the board is fairly self-explanitory. The DipTrace project for the PCB and Gerber files can be downloaded here if you want to alter it or make your own: dell3030lt_n06d_fp_adapter.zip.
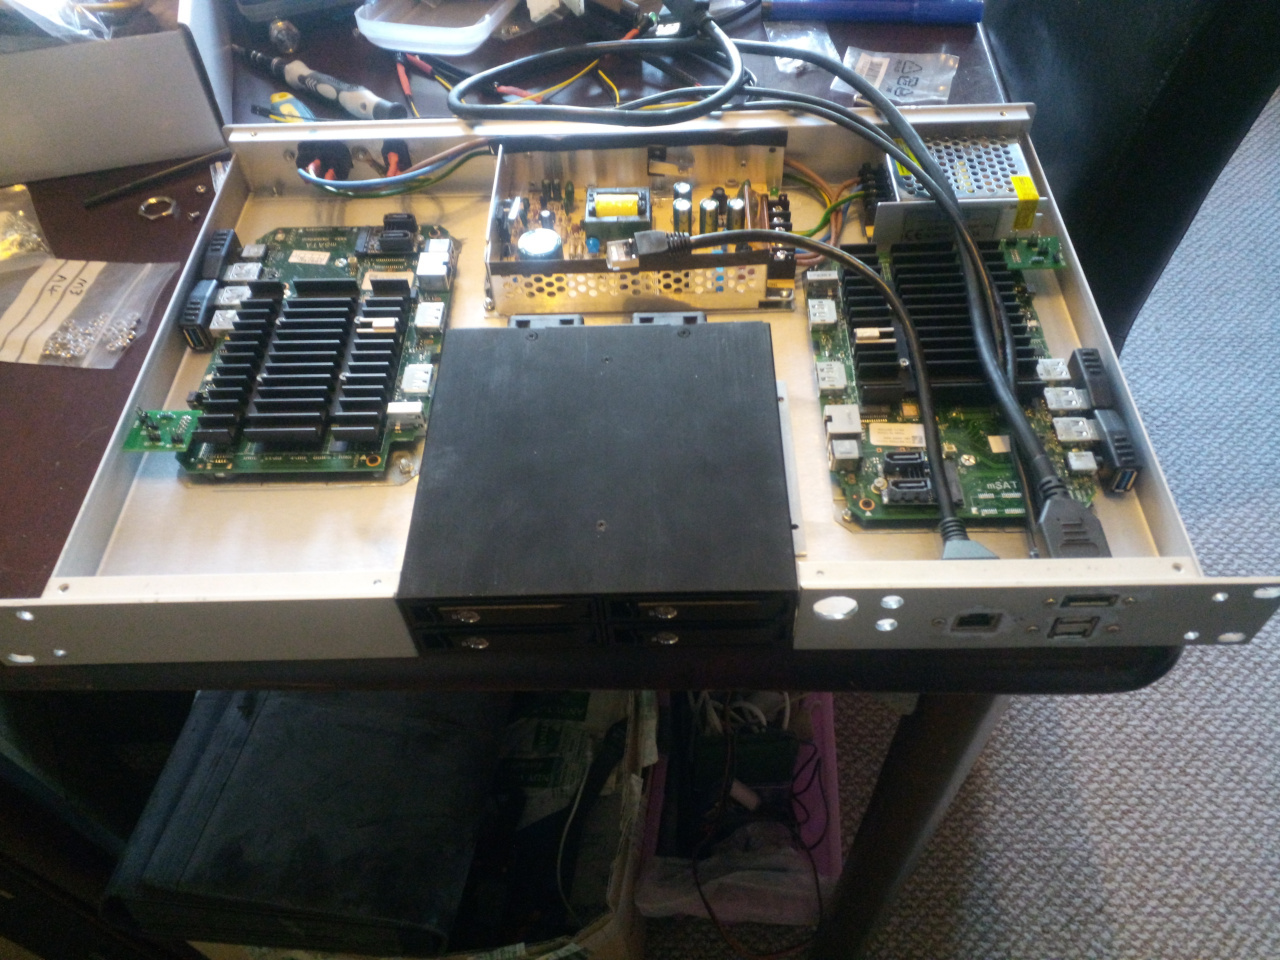
We need some storage too.
I already had a system working fine with disks attached over USB 3.0, but that's pretty bulky, especially needing to include a hub to share the single USB 3.0 port between two disks... and there's that enticing M.2 "WLAN" slot sitting there doing nothing...
The slot is "E" keyed M.2 and works with devices other than Wi-Fi adapters, such as this Chenyang M.2 NGFF Key A+E PCI Express to SATA 3.0.... The particular SATA controller linked has a BIOS option ROM, but it is misconfigured and won't detect any disks at boot (they become visible after booting into Linux).
I needed some way to actually mount the disks too... I was originally going to just mount them inside the enclosure using a rudimentary drive cage screwed to the bottom, but hmmm... we can do better...
I spent a while looking at different options on eBay/Amazon/etc, but the quality/reliability was questionable, and I've been bitten by cheap cables and disk caddies in the past. In the end, the StarTech.com SATSASBP425 backplane, with 4x 2.5" drive bays in a half-height 5.25" form factor seemed best.
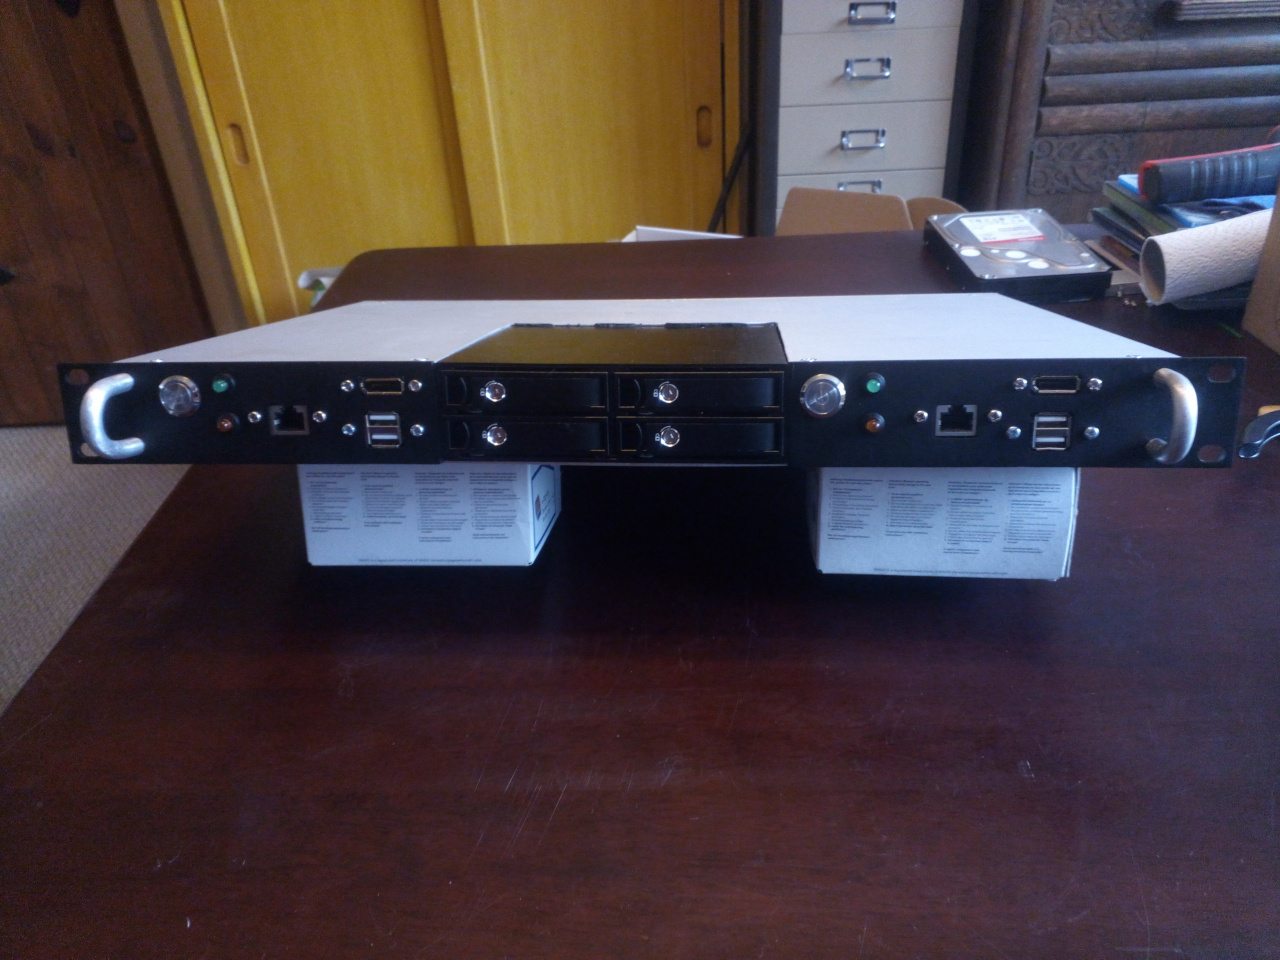
The unit has 4 independent SATA connectors on the back, which is perfect here since it needs to be split between two disk controllers on two separate computers. There are also power and access LEDs on the front for each disk.
Case Fabrication and Assembly
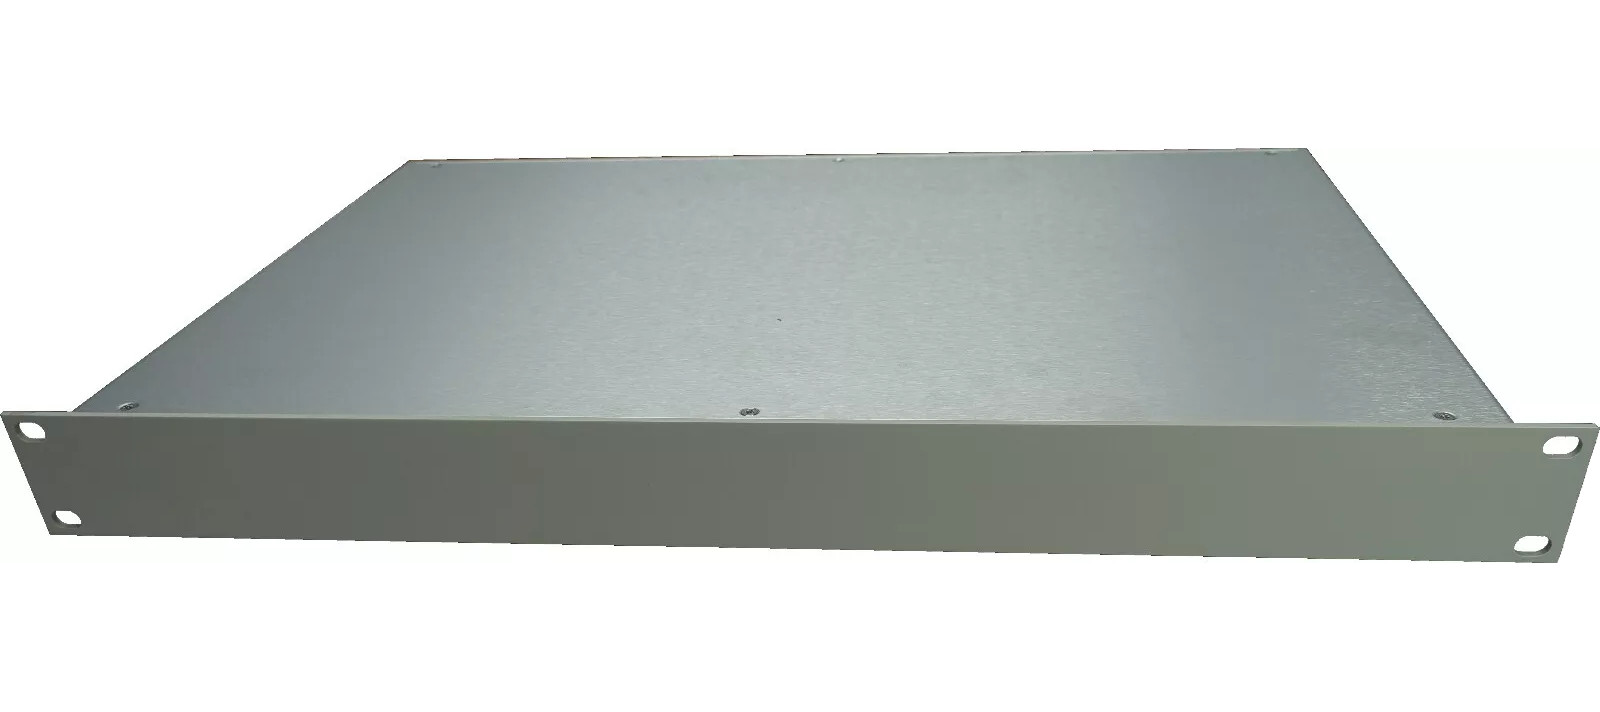
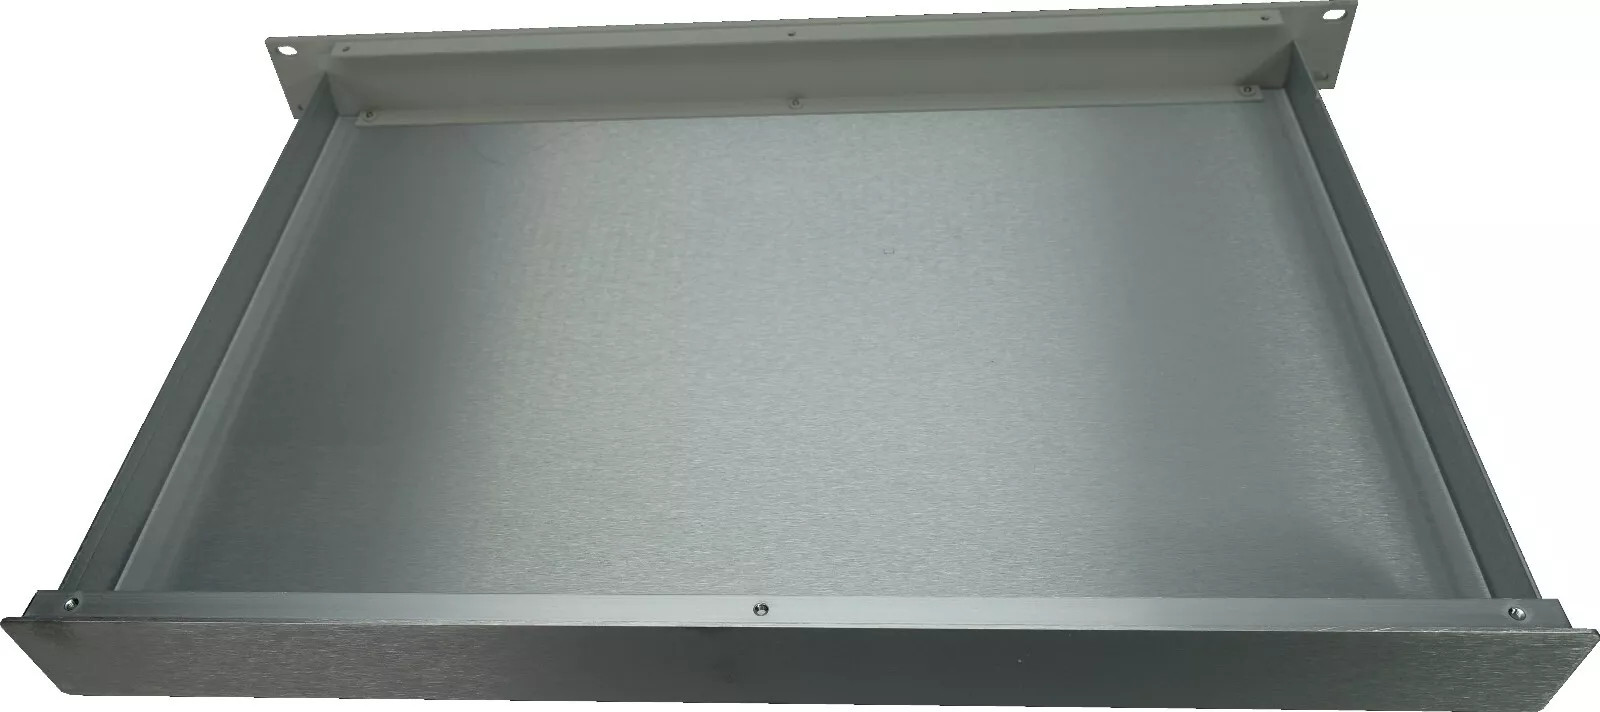
I started out with this empty aluminium enclosure from eBay:
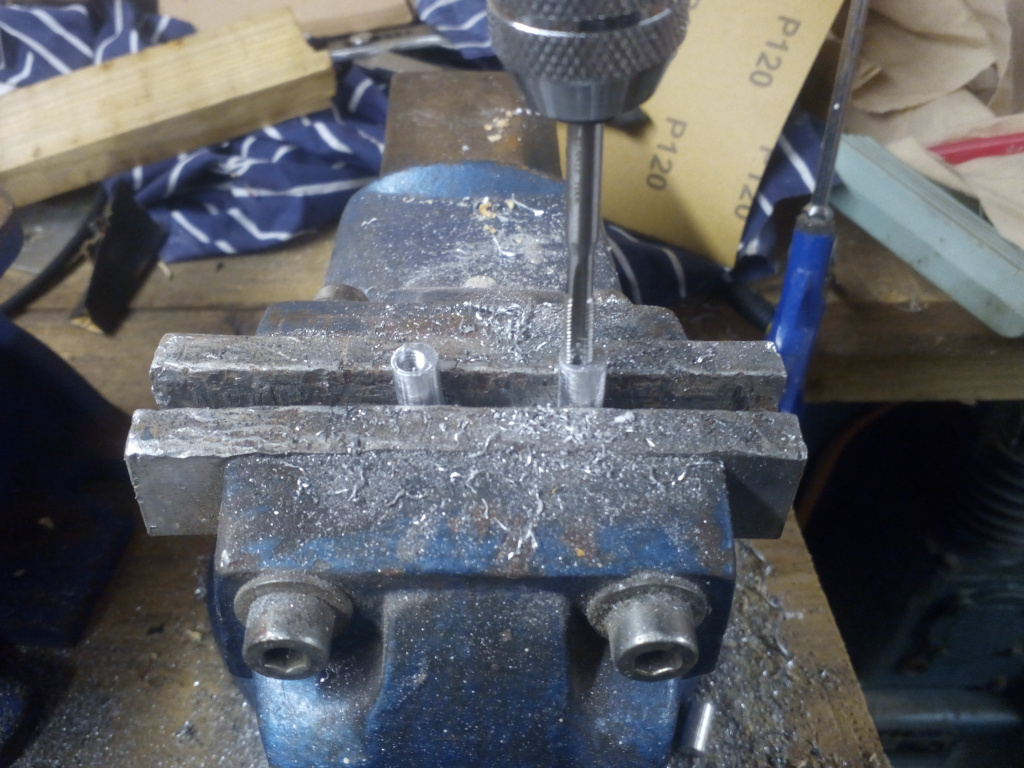
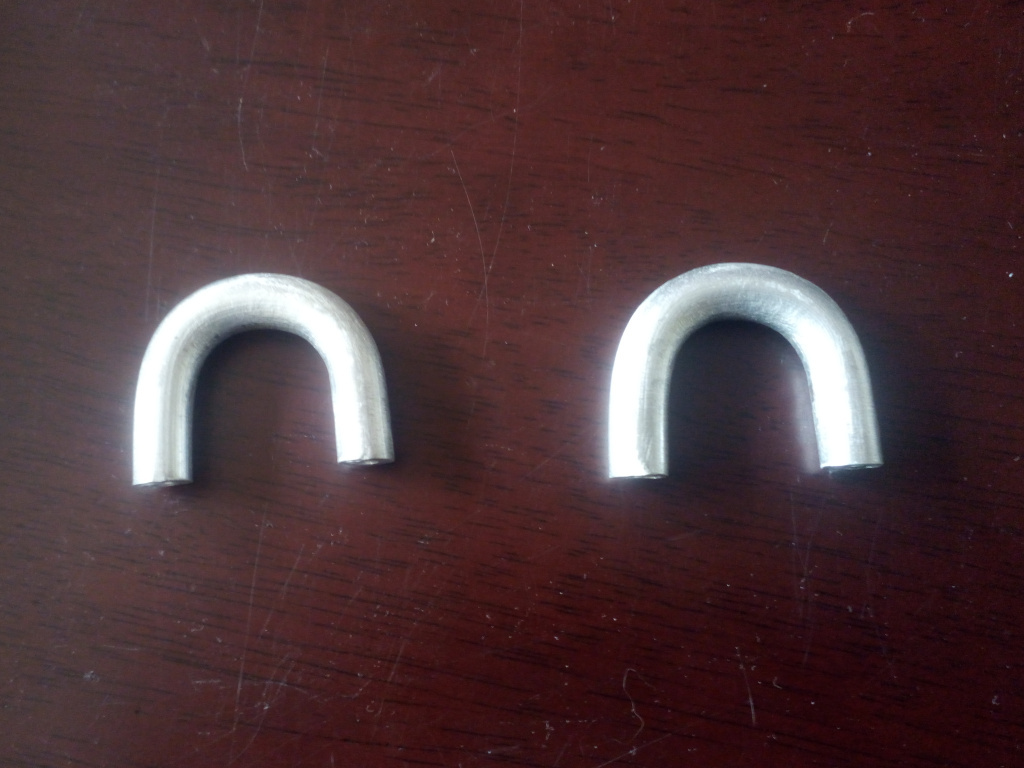
Surprisingly, I couldn't find any handles for 1U equipment for sale, so I got some aluminium round bar, and after a couple of attempts, wound up with these:
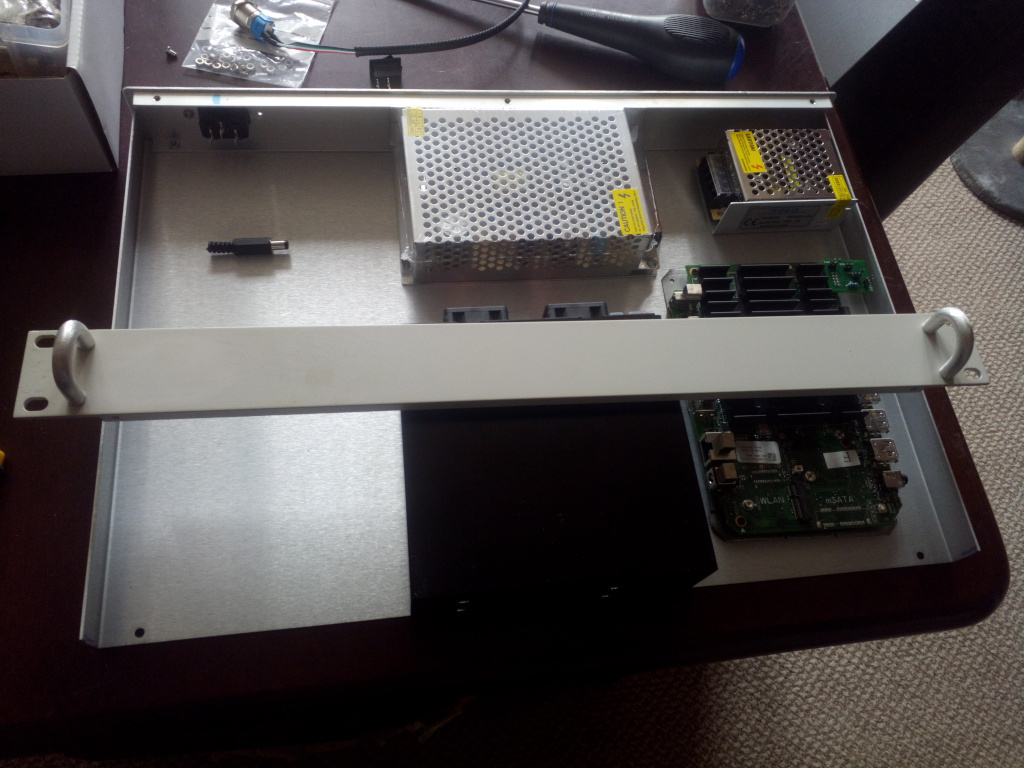
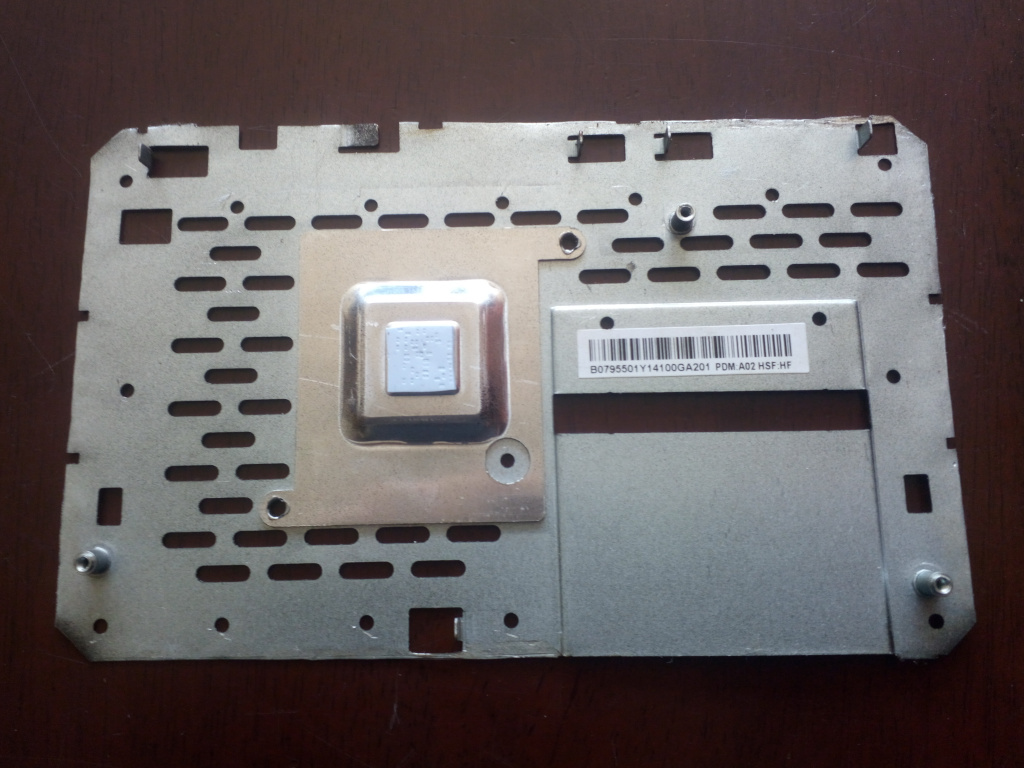
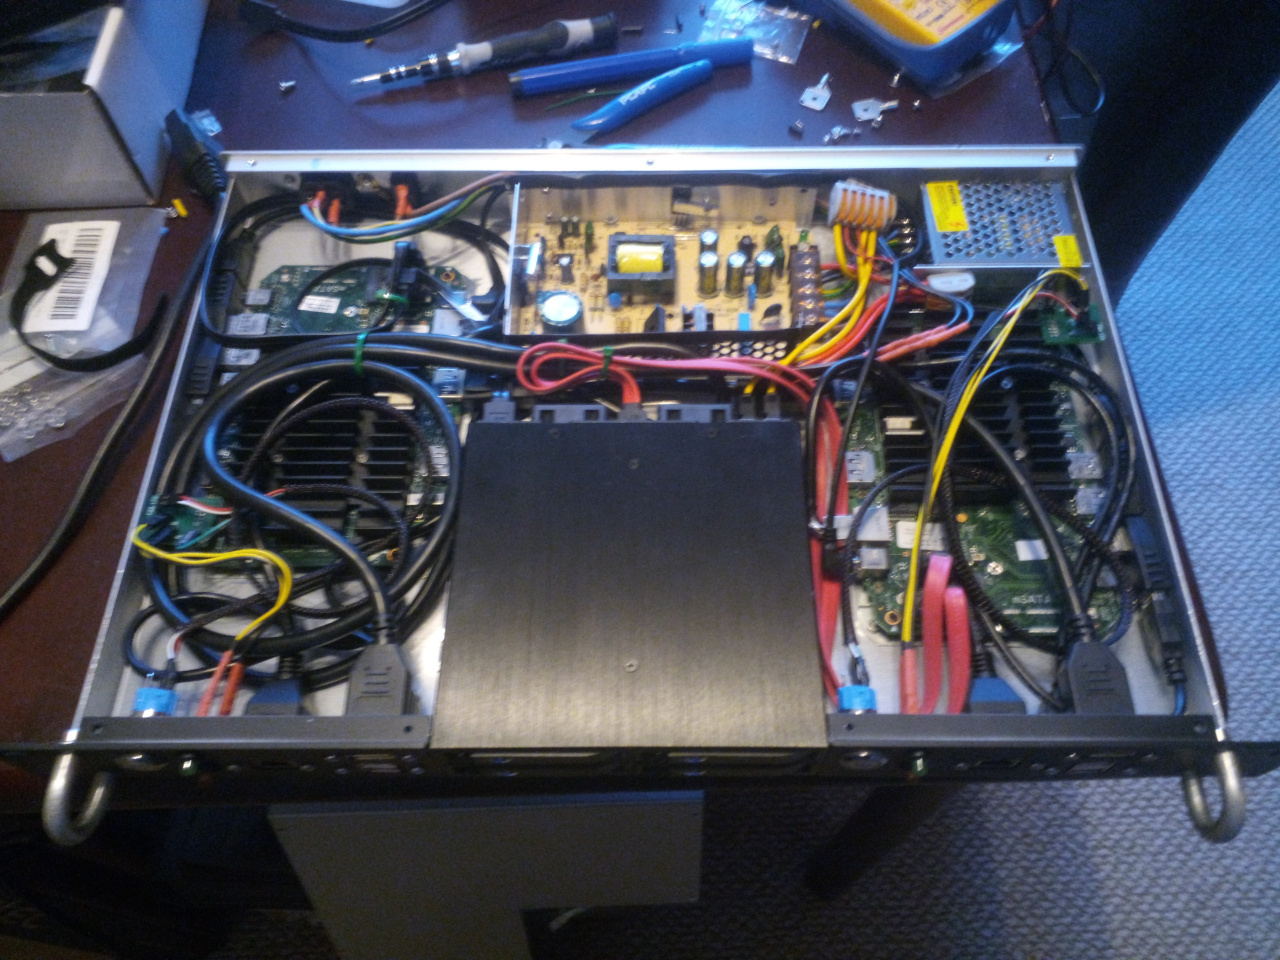
The plastic shell of the N06D thin client is wrapped around a pretty solid inner metal case, which probably helps keep the machine stable and adds some RF shielding. The "lower" plate has a special raised section under the CPU with a thermal pad on it... I wouldn't expect this to get very hot with the tiny power consumption, but Dell deemed it necessary, so I trimmed the sides off and used the original shields to mount the motherboards, coupling the original thermal zone to the new chassis.
The disk backplane takes pretty much the whole 1U of height, which was convenient because it meant I just had to cut the middle section of the front panel out (after drilling and tapping some extra screw holes) rather than trying to cut out a huge square hole in the front for it.
The switches, LEDs and sockets for the front panel are all generic parts sourced from our favourite auction website.
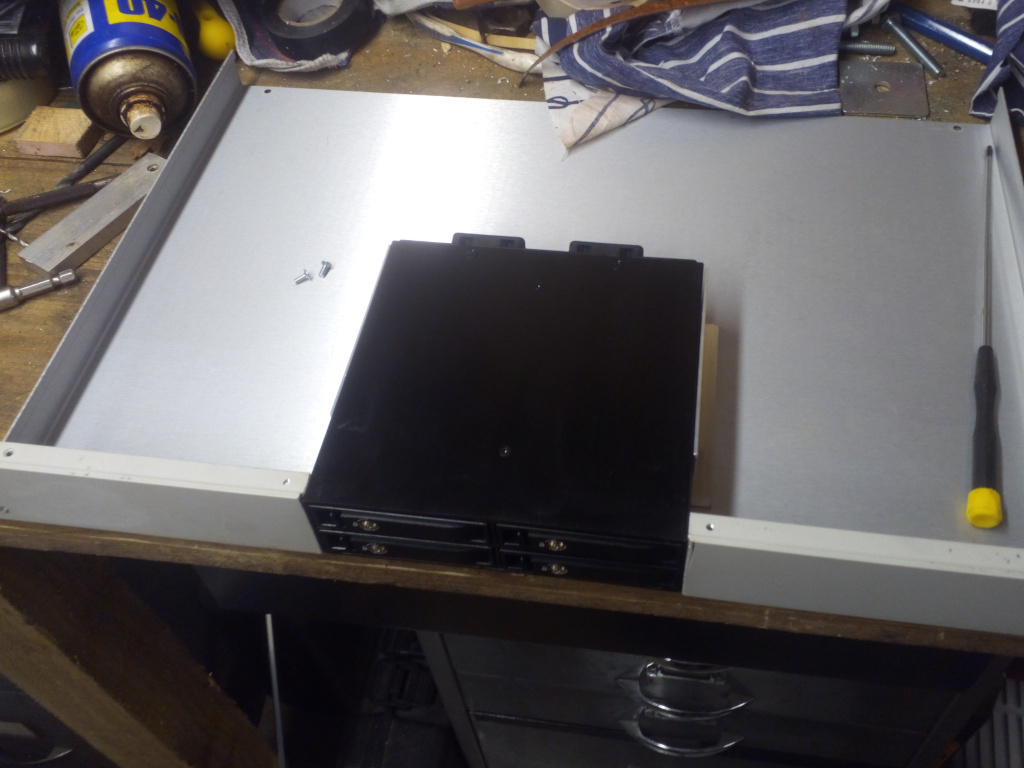

Remember how I said the drive backplane takes pretty much the whole 1U of height? Well I had to trim a section out of the lid to stop it from fouling on it.
And we're done. With the assembly at least.
The Bootloader Odyssey
Act One: The Option ROM Deception
As briefly mentioned earlier, the SATA controller modules I chose don't have a correctly configured BIOS Option ROM - during POST we see the initialisation messages from the JMB585 controller, but it claims no disks are connected, and as far as I can tell, the disks themselves aren't initialised. Once Linux starts up, the disks come up and are visible.
I could simply install the /boot/ partition and bootloader to the onboard flash memory (MMC), but ideally I wanted to keep the OS installations and data entirely contained within the removable hard drives and divorced from the internal storage.
The JMB585 controller is used on some motherboards, where it does allow booting... so the controller is capable of it... its probably just been misconfigired by the manufacturer of this particular module.
I hoped I could flash a new configuration to the card, enabling booting from the disks connected to it like any other storage device, but I couldn't find much in the way of documentation from the chip manufacturer, or any tools for configuring/flashing it.
Someone much smarter than me has even started reverse engineering the controller chip, but still no "this is how you make the firmware actually work" answer for me.
Act Two: Old Flames
One of my early software projects was kexec-loader, a Linux-based bootloader distribution which could be booted from one device (1.44MB floppy was the primary target), and then boot into a Linux installation from a storage device not supported by the BIOS (commonly USB disks, at the time).
I hadn't touched the project since 2011 and thought we had moved on past the point of needing such software.
Welp.
A slightly-more-fossilised-than-the-rest corner of my brain remembered that Linux software RAID-1 partitions placed the mirrored data at the start, allowing non-RAID-aware software (like GRUB 1) to boot a system with a mirrored boot volume... so I should just be able to compile a new kernel with suitable drivers, slip it under the 13 year old kexec-loader initramfs and have it autodetect the installation via its GRUB configuration... right?
So, a new kernel was built, the internal flash suitably partitioned and syslinux installed to boot into kexec-loader...
EXT4-fs (sda1): bad geometry: block count x exceeds size of device (y blocks)
Well... it found the SATA disks at least.
After a lot of fruitless searching I discovered that software RAID on Linux hasn't put the filesystem at the start of the RAID partition by default since around 2010.
| RAID metadata format | Data location | Superblock location |
|---|---|---|
| 0.90 | At the start of the partition | At the end of the partition |
| 1.0 | At the start of the partition | At the end of the partition |
| 1.1 | >0 | At the start of the partition |
| 1.2 | >0 | 4K from the beginning of the partition |
Okay... so why was the ext4 driver complaining about disk geometry rather than "this isn't even an ext4 filesystem, dumbass"?
Well, there happened to be a (larger) ext4 partition on the disks I was testing with before I set them up as a RAID mirror, and neither deleting the partition, not setting up a smaller RAID partition in its place deleted the ext4 filesystem header, thanks to the version 1.2 metadata being offset 4k into the partition. I'm sure there's a reason for the 4k uninitialised no-mans-land, but right now I hate it.
Okay, fine, its not ideal, but I can salvage this... I'll just remake the /boot/ mirror using the 1.0 metadata format and then I can mount it from kexec-loader despite it knowing nothing about RAID!
Except that didn't work.
I could mount the filesystem from kexec-loader and use it to boot now, but blkid reported the UUID of the RAID partition rather than the ext4 filesystem UUID when queried about the block device... which meant it couldn't identify the correct device using the filesystem UUID specified in the GRUB configuration.
Act Three: Compromise
Okay, I've spent enough time faffing around with hacks and its starting to spiral beyond "a nice little contained boot image that lives on the flash and automatically works with whatever Linux drive/mirror I happen to shove in the front".
Its not ideal... but I could make the /boot/ partition a RAID mirror between the removable SATA disk and the internal flash, that means the OS install is still fully contained on the drive and can be relocated to another machine fairly easily, with some minor manual setup to set up the /boot/ mirror onto the internal flash and install the bootloader when swapping disks around.
That didn't wind up working either.
I don't know why, but on this one specific machine, I couldn't get GRUB to install to the flash and work - the BIOS acted like it wasn't a valid boot disk and refused to start it.
I tried MBR and GPT partitioning, reserving space before the first partition, making a "BIOS boot partition" and every plausible flag to the grub-install command (which reported success with almost every configuration), it just wasn't bootable.
It worked when the Debian installer installed GRUB, so I can only imagine there's some very specific oddity about this flash drive or the BIOS which it knows how to work around and I don't.
I don't care! We're well beyond "some minor manual setup" at this point and I'm tired of this, we need another plan.
Act Four: And Back Again
Yes, we're back in the kexec-loader woods.
Despite being close to a decade and a half out of date, I had to change remarkably little in kexec-loader to get it compiling with a newly built musl toolchain:
- Updated to a new version of kexec-tools due to a removed GCC parameter.
- Build libblkid and libuuid from util-linux rather than e2fsprogs due to them no longer existing in the latter.
- Comment out LZMA support (for now at least) due to LZMA Utils being long dead.
And thats it, my horrible C code from long ago is building again!
Software RAID support was easy to add in a quick and hacky way too - it bundles a copy of the mdadm binary and runs it to initialise any new RAID arrays each time it looks for new disks.
A couple of fixes to the grub.cfg parsing code, and we can boot Debian (and probably others) from the SATA drives with no reconfiguration on either side:
If anyone else wants to do this, I've made a disk image with kexec-loader which can be written to the internal flash: kexec-loader-dell-wyse-n06d.img.gz.
This may work on other machines, but the kernel is specifically targeted to the hardware in the N06D and any SAS/SATA controller chips that looked plasibly-might-be-available-in-M.2-form-factor.
The kernel configuration is included as linux.cfg in the partition of the disk image and can be used as a base to build your own kernel with different drivers if necessary.
2026 UPDATE
Debian Trixie added a GRUB menu entry to enter the system's EFI firmware, which caused kexec-loader to output an error and wait for user confirmation at boot. Here is an updated image which fixes that issue: kexec-loader-dell-wyse-n06d-v2.img.gz
Comments
No comments have been posted